How to Make a Reading Log: Build One in Minutes
To make a reading log, decide what you want to track (usually date, book title, and minutes or pages), lay those out as columns or rows, and add a header with space for a name and goal. Then print it. The fastest way is to use a free reading log maker, pick your fields, and print a clean custom sheet — no design skills and no software needed.
In a hurry? Open the free tool, choose a layout, set your fields, and print. There's no sign-up and no cost, so you can have a finished log in under two minutes.
What Goes Into a Reading Log
A reading log is just a structured sheet for recording your reading. At its core it's a header plus a set of rows, and each row holds one reading session or one book. The art of making a good one is choosing the right fields and laying them out so they're quick to fill.
Most logs have two parts:
- A header at the top with a name, a goal, and a date range. This is where you write "Read 20 minutes a night" or "Goal: 30 books this year."
- A body of rows, each with a few columns to capture the details of what you read.
Everything else is a choice. Below, we'll walk through making one from scratch so it fits exactly how you read.
Step 1: Decide What You Want to Track
Before you draw a single line, get clear on your goal. What you track depends entirely on why you're logging.
| Your goal | Track this | Best layout |
|---|---|---|
| Build a daily habit | Date + minutes | One row per day |
| Finish long books | Pages or chapters | One row per session |
| Hit a book count | Title + date finished | One row per book |
| Remember what you read | Title + rating + notes | One row per book |
| School reading homework | Date + minutes + signature | One row per night |
Pick one main goal and let it drive the design. A log built for one clear purpose gets used. A log that tries to do everything ends up cluttered and abandoned. You can always make a second log later for a different goal.
Step 2: Choose Your Fields
Now turn that goal into columns. Here are the most useful fields, and when each one earns its place on the sheet.
- Date — almost always worth including. It's how you see your streak.
- Book title — what you read. Skip it only if you're tracking a single book all month.
- Minutes or pages — how much you read. Pick whichever matches your goal.
- Star rating — a quick 1–5 score. Great for readers who like to review.
- Notes — a line for thoughts, favorite quotes, or a one-sentence summary.
- Signature — a parent or teacher initial, essential for school logs.
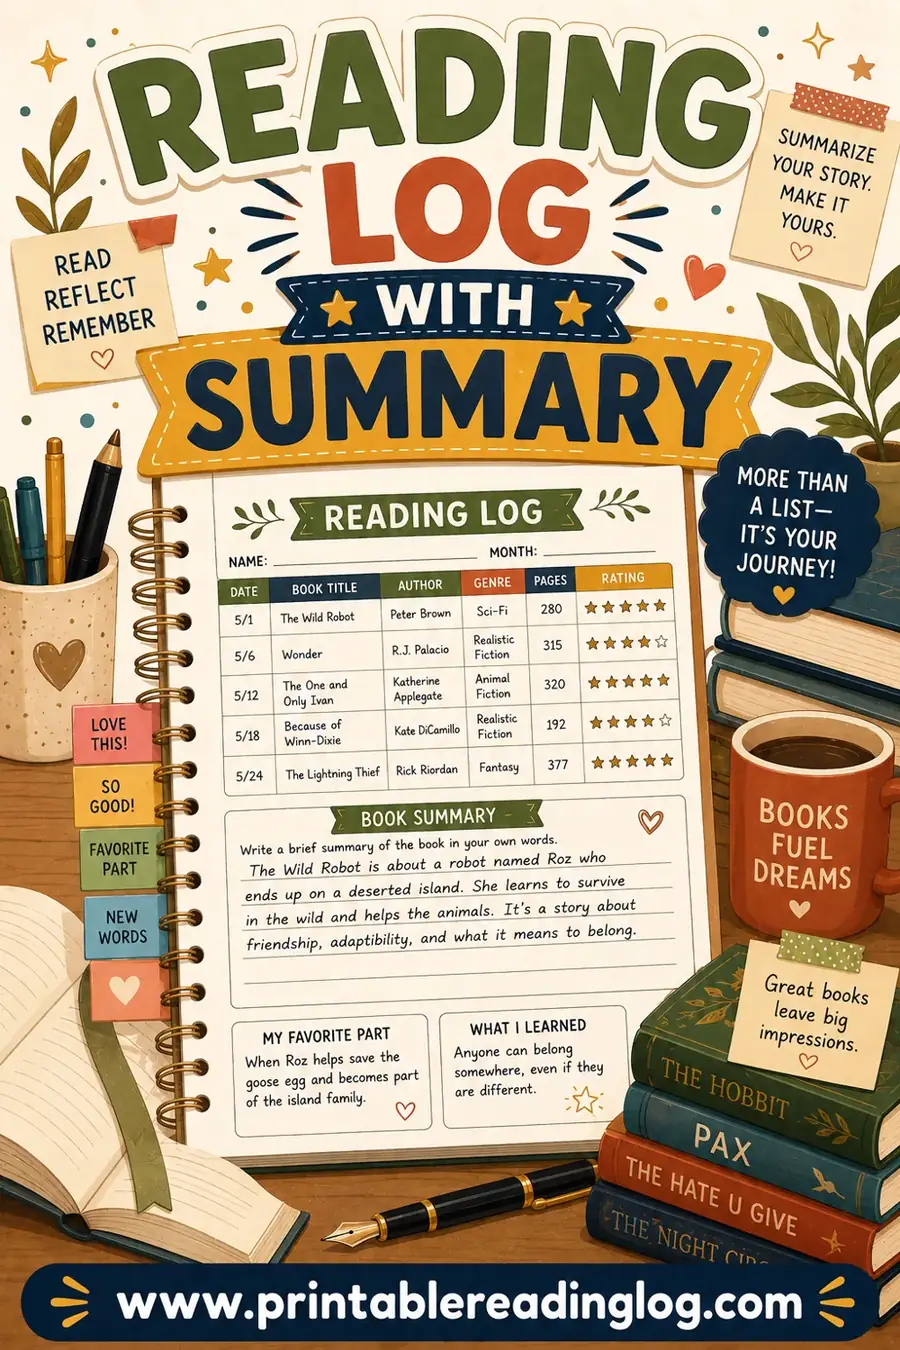
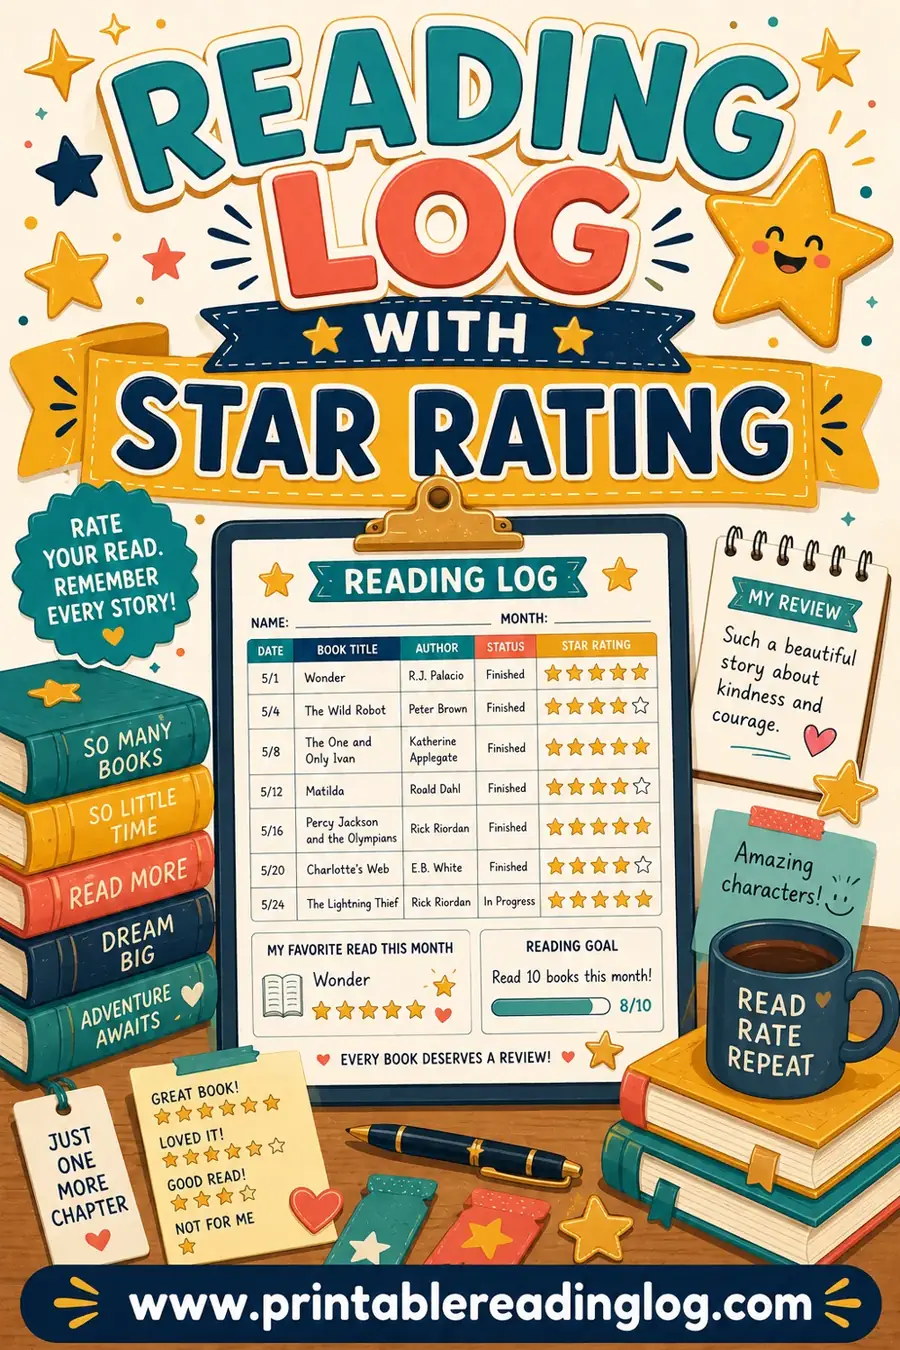
Keep it lean. Three or four columns is the sweet spot. Every extra field is one more thing to fill in, and the more a row asks for, the more likely it gets left blank. If you want richer entries, see our guides on the reading log with summary and the reading log with star rating.
Step 3: Pick a Layout
How you arrange those fields changes how the log feels to use. There are three common layouts, each suited to a different rhythm.
- Table layout. Columns across the top, one row per entry. Compact and great for tracking many sessions at a glance. This is the classic reading log.
- Card layout. A box per book with room for a cover sketch, rating, and notes. Slower to fill but lovely for a reading journal.
- Calendar layout. A grid of days you check off. Perfect for a pure minutes-a-day habit where you just want to mark "I read."
For most people, the table layout wins for everyday tracking. Use a card layout if you want each book to feel special, and a calendar if your only goal is consistency. A weekly reading log is a friendly middle ground, giving each week its own fresh page.
Step 4: Set the Length and Time Span
Decide how much reading one sheet should hold before you start a new one. This small choice matters more than it seems.
- A week per page feels rewarding because a fresh start comes often. Best for kids and habit-builders.
- A month per page is efficient and good for steady adult readers.
- A year per page suits a books-finished list where you only add a line when you finish something.
Shorter spans give more frequent fresh starts, which keeps motivation high. Longer spans mean fewer reprints. Match the span to how often you want that satisfying "new page" feeling.
Step 5: Make It Yours With Small Touches
A few finishing touches turn a plain grid into something you'll want to keep up.
- Add a goal line at the top: "20 minutes a night" or "12 books this year." Naming the goal makes it real.
- Leave a progress bar or tally box so you can total your minutes or count your books.
- Add a rating column if you review books. It gives your reading a voice.
- Pick a theme that fits the reader — playful for kids, clean and simple for adults.
- Include a notes line so a great quote or thought has somewhere to land.
Don't overdo it. The best touches serve the reader without crowding the page. A clean log with one or two thoughtful extras beats a busy one every time.
Sample Reading Log You Can Copy
Here's a simple, ready-to-use layout. Copy this structure into a printable sheet, a notebook, or the free maker and you're set.
| Date | Book Title | Minutes | ⭐ | Notes |
|---|---|---|---|---|
| ___ | _____________ | ___ | ___ | _____________ |
| ___ | _____________ | ___ | ___ | _____________ |
| ___ | _____________ | ___ | ___ | _____________ |
| ___ | _____________ | ___ | ___ | _____________ |
| ___ | _____________ | ___ | ___ | _____________ |
Header above the table: Name: ______ Goal: ______ Week of: ______. That's the whole thing. Five rows, a few columns, and a clear goal up top is all most readers ever need.
The Fastest Way to Make a Reading Log
Drawing one by hand works, but it's slow and the lines never come out straight. A free maker does it in seconds and prints crisp every time. Here's the whole process with the tool.
- Open the reading log maker. No sign-up, no download.
- Choose your fields. Tick the columns you want: minutes, pages, rating, notes, signature.
- Pick a layout and length. Table or card, a week or a month per page.
- Set your goal. Type in your minutes-a-night or book target.
- Print. Run a test page first to check your margins, then print as many as you need.
Print a few weeks at once so a finished sheet is instantly replaced. A ready blank keeps the habit from stalling, which is the quiet secret behind every log that actually lasts.
Printing Your Reading Log So It Looks Right
A reading log only helps if it actually prints cleanly. A few small choices at the printer save you from a stack of cut-off rows or a sheet that's all margins and no log.
- Print a test page first. One copy tells you instantly whether your margins, row size, and columns sit where you want them. Far better to catch a problem on page one than on page thirty.
- Set scaling to 100%, not "fit to page." "Fit to page" quietly shrinks your rows and throws off the spacing. Lock it to actual size so the log prints exactly as designed.
- Mind your margins. Most home printers can't print to the very edge. Leave a little breathing room around the grid so nothing gets clipped.
- Choose portrait or landscape on purpose. A tall table of many short rows likes portrait; a wide log with lots of columns often reads better in landscape.
- Go heavier for logs that travel. Cardstock survives a backpack or a kitchen drawer far longer than copy paper, and it feels nicer to write on.
If you want a log you can reuse, print it once, slip it into a clear sleeve, and fill it in with a dry-erase marker. Wipe it clean and the same sheet starts a fresh week.
Print vs. digital reading logs
Some readers wonder whether to keep the whole thing on a screen instead. Both have a place, and the right answer depends on the reader.
| Printed log | Digital log | |
|---|---|---|
| Setup | Print and go | Pick or build an app |
| Cost | Free | Often free, sometimes paid |
| For kids | Easy, screen-free, colorable | Tempting to wander off-task |
| Stats | You tally by hand | Auto-totals |
| Ownership | Yours forever | Tied to an account |
For kids, habit-building, and anyone reading to get away from screens, a printed log usually wins. A digital one earns its place if you love automatic stats and don't mind one more login. You can always start on paper and switch later — nothing's lost.
Frequently Asked Questions
How do I make a reading log from scratch?
Decide what you want to track, choose three or four fields like date, title, and minutes, lay them out as columns with a goal line on top, and add blank rows. The quickest way is to use the free reading log maker, tick your fields, and print a clean custom sheet in under two minutes.
What columns should a reading log have?
The core columns are date, book title, and minutes or pages. Add a star rating and a notes column if you like to review what you read, and a signature line if it's for school. Keep it to three or four columns so rows stay quick to fill.
Is making a reading log free?
Yes. You can draw one by hand for free, or build and print a clean custom sheet with the free maker at no cost, with no sign-up and no watermark. Print one for yourself or a full set for a whole class.
Should I make a reading log by hand or use a tool?
A tool is faster and prints crisp, straight lines every time, which matters if you want a clean, reusable sheet or a full class set. Making one by hand is fine for a single quick log, but it's slow and the spacing is hard to get even.
How long should each reading log sheet last?
Choose a span that matches your reader. A week per page suits kids and habit-builders because fresh starts come often. A month per page works for steady adult readers. A year per page fits a simple books-finished list.
Can I make a reading log for a whole classroom?
Yes. Build one design with the fields and layout you want, then print a copy for each student. The free maker lets you print as many identical sheets as you need, so a class set takes the same effort as a single page. See our printable reading log guide for more setups.
Why does my reading log print with cut-off rows?
Almost always because the print scaling is set to "fit to page," which shrinks and shifts the layout. Set scaling to 100% (actual size), leave a small margin around the grid, and print one test page before running a full batch.
Should my reading log be a table, card, or calendar layout?
Use a table for everyday tracking of many sessions, a card layout if you want each book to feel special with room for a sketch and notes, and a calendar if your only goal is a minutes-a-day streak you check off. Most readers are happiest with a simple table.
Ready to Make Your Reading Log?
Decide what to track, pick a layout, set a clear goal, and print. The fastest path is to open the free reading log maker, tick your fields, and have a custom sheet in your hands in minutes. It's free, there's no sign-up, and you can print as many as you need. For more ideas, see our printable reading log guide and the weekly reading log.